I had time today to build an order #225 a Booger Booster. It's an LPB-1 clone. I had a helper in the form of my 5 year old son Harper. This post will follow every step of the build process.
Any questions or comments are welcome.
First of all I need to sort out the layout, drilling template and graphics for the pedal. I do all my stuff in
Inkscape (free and open source) with
Pedal Builder's Vector Art Pack. Using a layer for each stage it very easy to design and export drilling templates and graphics ready to apply to the enclosure.
 |
| Each layer of the proposed design |
With the pedal designed and ready to go it's time to export the images and print out the drilling template and waterslide decal.
 |
| My laser printer. I use this for everything. Great printer. |
I export my final graphics at 600dpi and print as "Labels". I use laser decal paper from
Decalpaper Australia I use both clear and white. These decals I printed previously on another sheet with some other decals as the paper is expensive to waste.
 |
| Template and Decals |
Now with the template and decals ready it's time to apply the template and head to the basement to drill the enclosure. I use masking tape to attach the template as it doesn't leave any sticky residue.
 |
| Template attached and holes centre punched |
I use a
3mm-8mm Centre drill bit to drill as a pilot and for the pots and LEDs. 3mm LED or 8mm for bezel. 8mm for pots as it allows a little room to adjust. Them I drill out the rest of the holes to the correct sizes. 12mm for 3pdt, 12mm for DC jack, 9.5mm for jacks. After drilling I then deburr all the holes so all the sharp edges are gone and the decal wont catch on them when applying it.
 |
| About to drill. |
 |
| Deburred all edges. |
Alright now the enclosure is drilled, it's time to apply the decal. First I need to clean the enclosure before applying the decal. The enclosure is a pre-powder coated 1590A from
Tayda. Unfortunately the enclosure had some black rub marks on it that needed to come off before applying the decal. I used some paper towels and toothpaste and it came up really good. Washed it off. Then using alcohol (uvex len cleaner) I cleaned the enclosure clear of any fingerprints or any other contaminates .
 |
| Toothpaste treatment |
 |
| Washing off the minty fresh toothpaste |
 |
| Super clean and ready to go |
Now that the box is super clean it's time to cut out and apply the graphic. I use nice sharp (expensive) scissors to cut the decal and make sure i round the corners off so the decal doesn't lift. I use an old takeaway container for the decal bath. I use luke warm soapy water for my decals.
 |
| Trimming |
 |
| Trimmed |
 |
| Put into decal bath face down for about 5 seconds |
 |
| Decal face up for abut 20 seconds. When it starts to move a bit it's ready to go |
 |
Applying the decal. I put a little bit of water on the surface of the box
just before I apply the decal |
 |
| Decal on! |
 |
Carefully dab off surface water and push out any bubbles.
Trying hard not to move it too much. This bit can be tricky. |
 |
| Add caption |
Next step is to part out the enclosure and put the guts in. I use my 3d printed pedal sockets to tighten up all the nuts to avoid marking/scratching the box.
 |
| Bits to go in |
 |
| Cut off the silly tab |
 |
| Tighten up the pot nut |
 |
| Tighten up the stomp nut |
 |
| Tighten up jack nuts |
 |
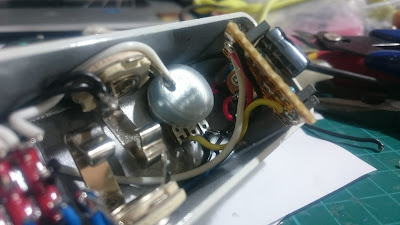
| All guts in. Using a miniature 3PDT for this build. |


No comments:
Post a Comment